NOTE: Be sure to learn how to create and store content in your Browser (Luceo.app) or mobile app (ASSIST) in order to start drawing.
Everyone can draw animated diagrams with Luceo!
Just like using your marker and whiteboard - you just draw the play as it's run and Luceo's patented Predictive Drawing™ tech instantly cleans up your lines, animates everyone's actions and sequences their timing.
It takes seconds to draw a perfect explanation, making Luceo the perfect tool for a coach to quickly build their portfolio or make the most of a late-game coaching moment in the huddle.
You can create and edit animations with Luceo.app using any internet connected web browser. You can also use Assist by Luceo Sports on any iOS or Android device while offline, and your changes will automatically publish when you reconnect.
Learn about:
- Predictive Drawing™ 101
- WHAT THE BUTTONS & TOGGLES DO
- PLACING & MOVING PLAYERS
- DRAWING & EDITING ACTION LINES
- CHANGING ANIMATION TIMINGS
- ADDING SHAPES, TEXT & READ OPTIONS
Predictive Drawing™ 101
Drawing in Luceo.app and in Assist are similar to each other. In the video and written tutorials below, we cover the four experiences that will be the same, no matter which app you are using.
Pro Tip - Open up the chapters in the bottom-right of the video player to jump ahead!
1. What the buttons and toggles do
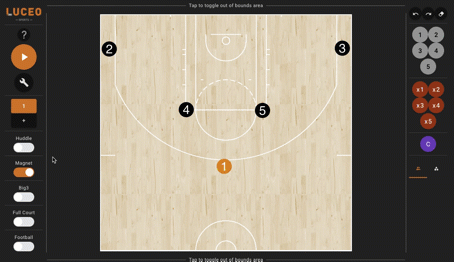
There are a series of buttons and toggles along the left-hand side of the court diagram that will allow you to control a number of things with your diagram.
- Play Button
- Timeline Button (wrench icon)
- Phase Control
- Huddle Toggle
- Magnet Toggle
- Big 3 & Full Court Toggles
The PLAY button allows you to review the timing and sequencing of the play you are drawing, so you can adjust it before publishing the final version:
.gif?width=688&name=Play%20Button%20(1).gif)
The MAGNET toggle allows you to draw by moving the pucks around the court and having the lines trail after them as "tails". This feature is designed for those who prefer using magnet boards. It can be used in combination with the "huddle" toggle to create a unique live drawing experience.
(final drawing plays back as a regular animated play)
The TIMELINE (wrench icon) controls are how you change the timing and sequencing of the play animation. You can adjust the speed of the motion by lengthening/shortening the line segments or adjust the start/finish point by moving the segments forward/backward on the timeline.
There is a line for each player in your animation. The blue dots show you how the beginning and end points of each player's movement line up with each other:
.gif?width=688&name=timeline%20(1).gif)
The PHASE control (plus button) allows you to add additional frames to plays that have too many player movements to show cleanly on a single frame. Each additional frame added will begin with the player positions at the end the previous frame based on their movements:
(all frames play as one seamless animation when complete)
.gif?width=688&name=Adding%20phases%20(1).gif)
The HUDDLE mode allows you to draw plays while only displaying the next two lines of movement. This feature is designed for live use to make it easier for others to follow along with what you are creating as you are drawing it:
(all drawn motions save to your overall animation)

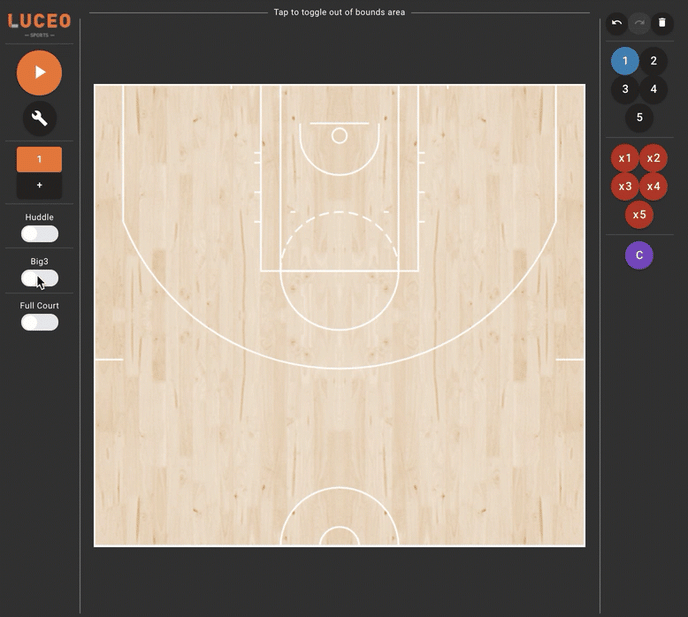
The BIG 3 and FULL COURT options are the first of several custom court templates Luceo is adding. High School, College and International teams can use the current court template options to create their plays. Luceo's software will automatically adjust these plays to your chosen court dimensions when they are released:
2. Placing players, moving their starting location, and who starts with the ball
- Placing Players on the Court
- Display Out of Bounds
- Change Player Location
- Selecting Ball Handler
- Edit Player Labels
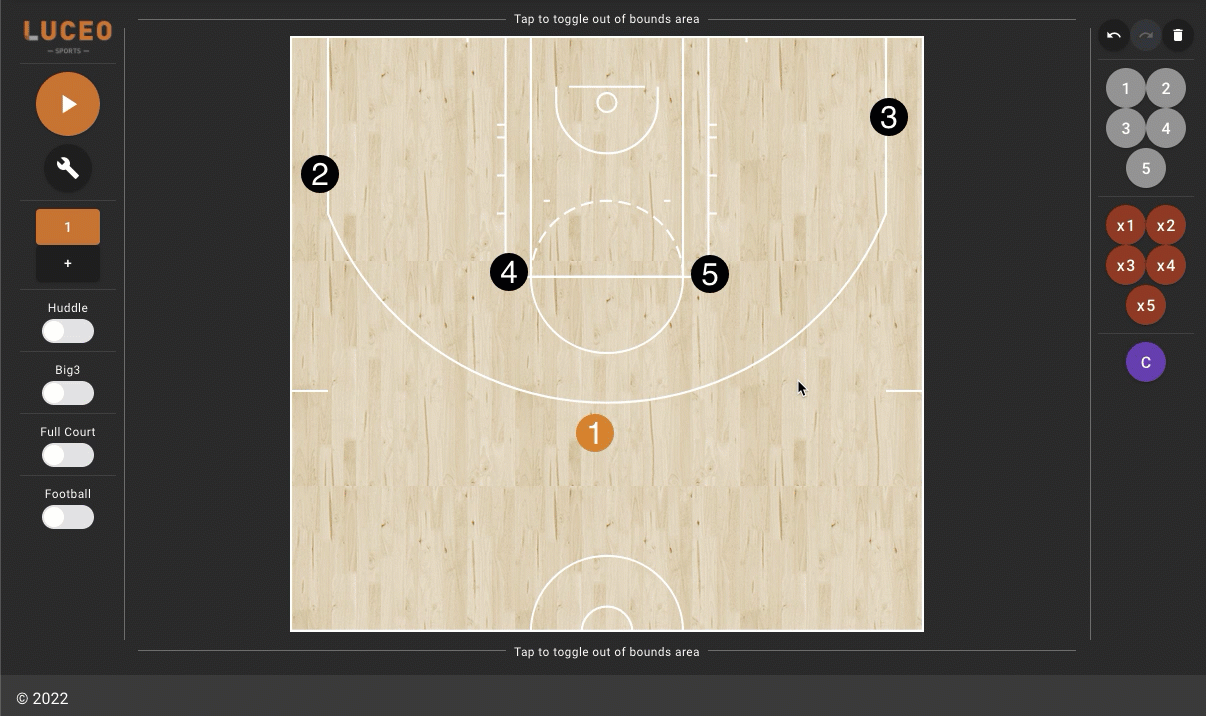
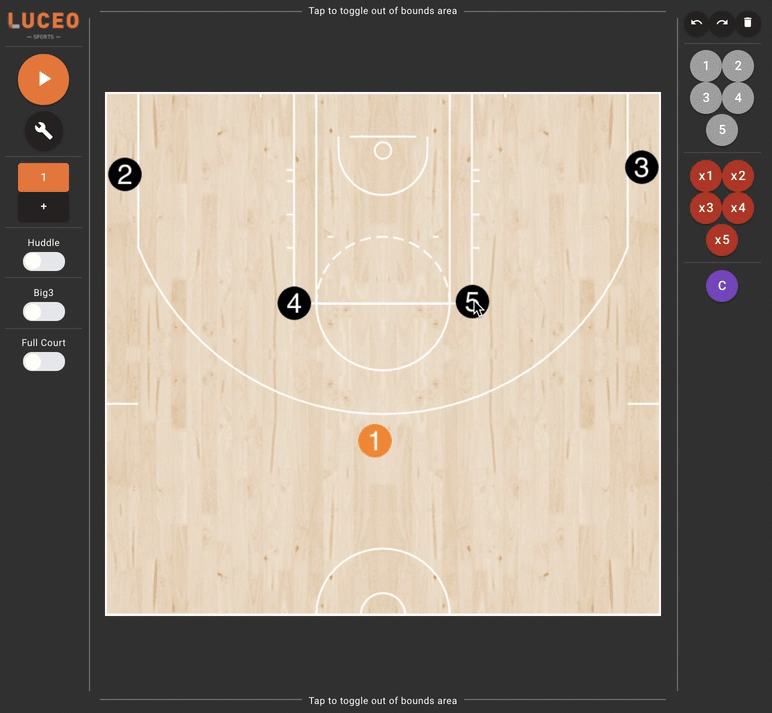
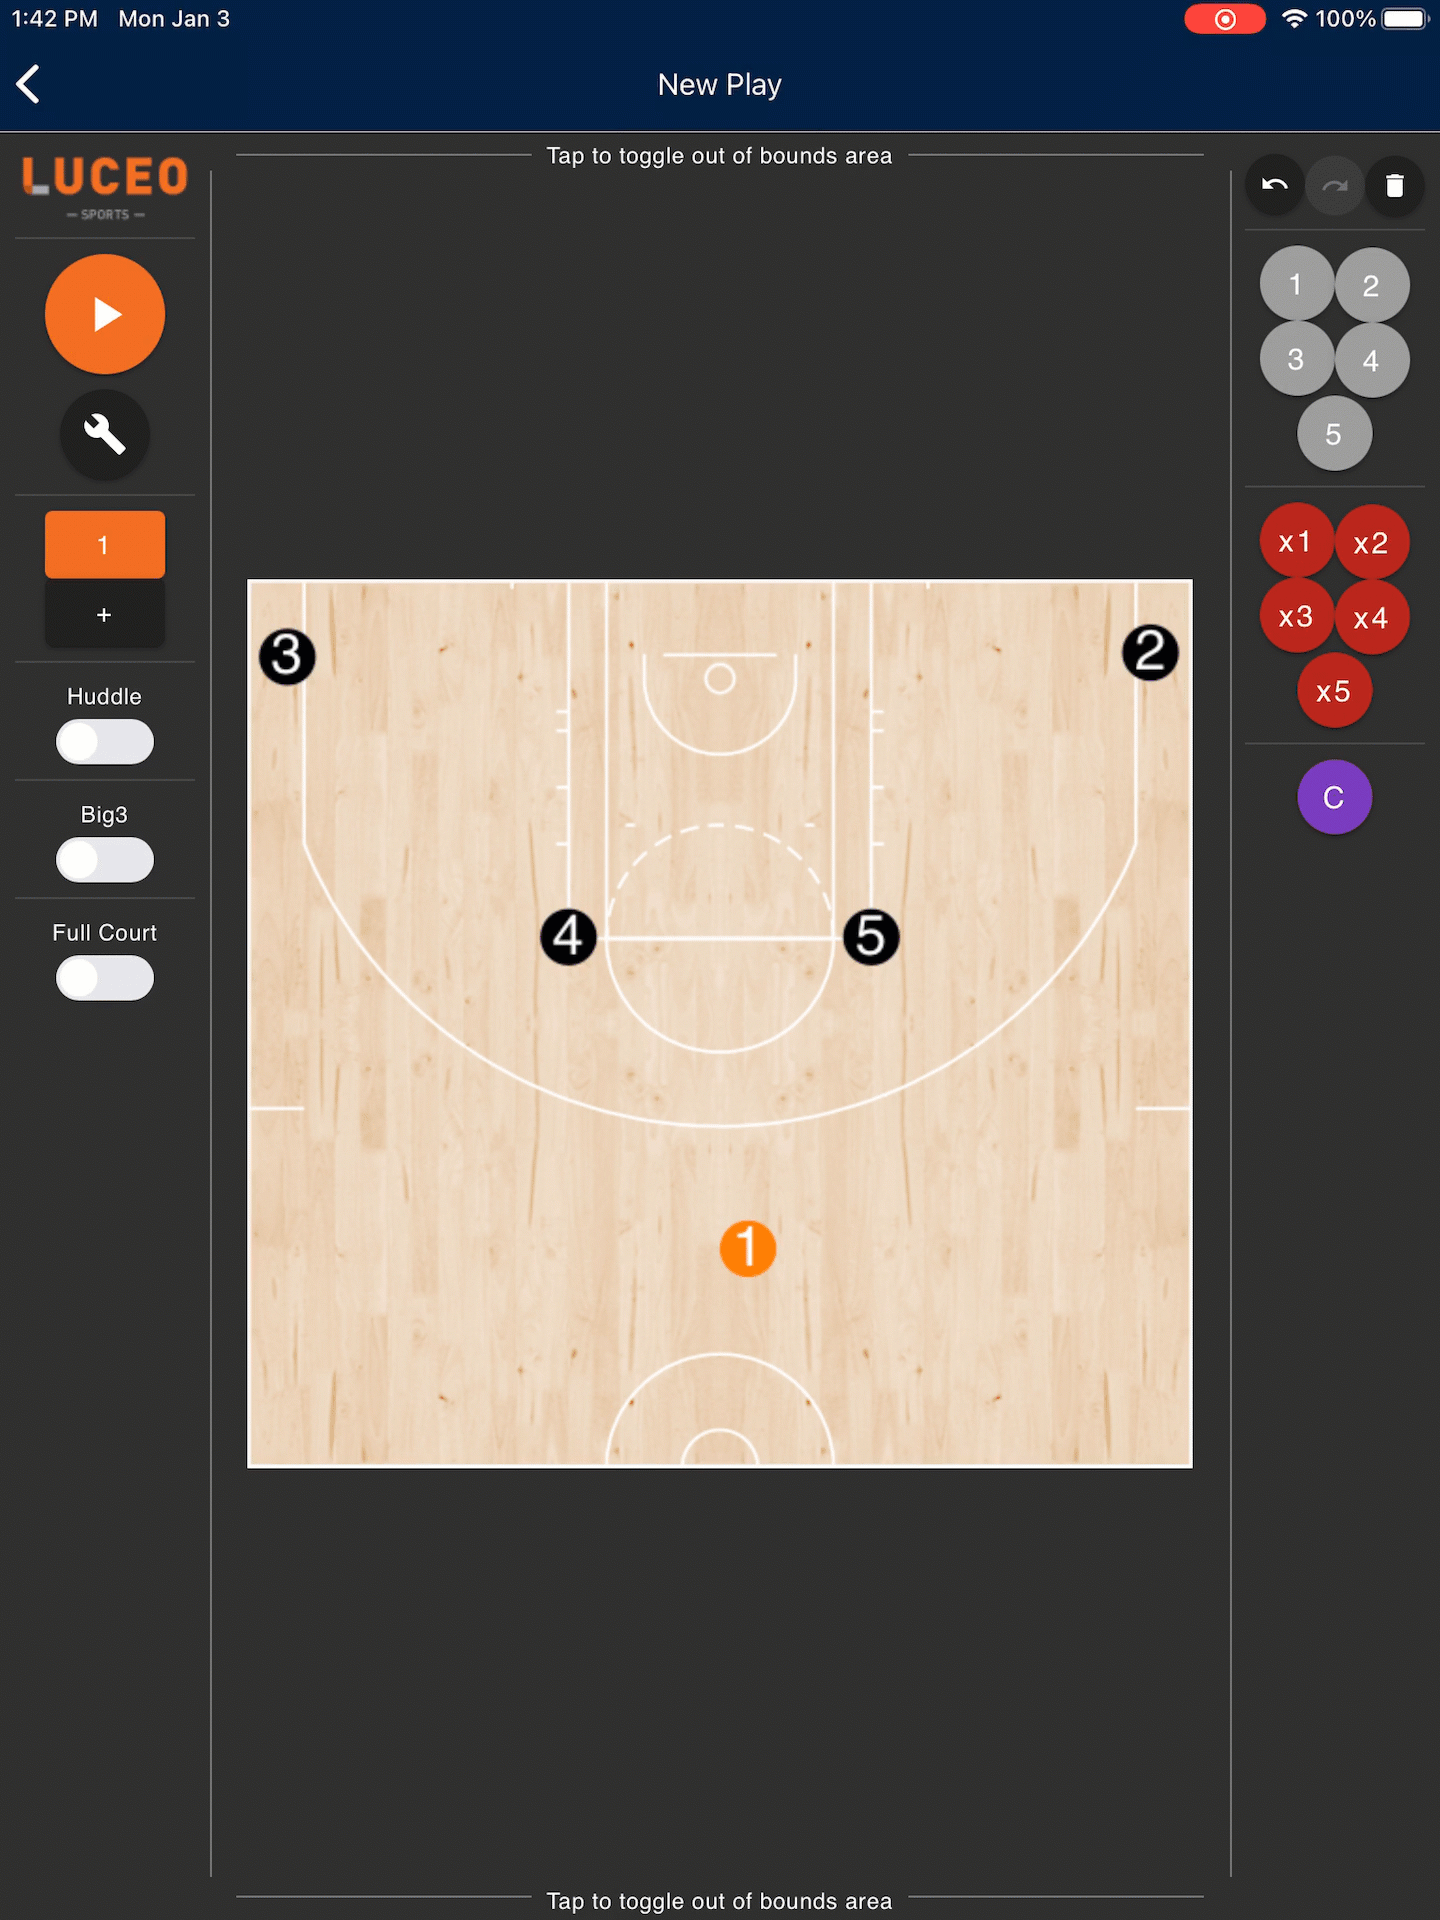
PLACING PLAYERS: You can choose up to five offensive players and five defensive players to place on the court. The default setting has the Point Guard (1) for the offensive players highlighted in blue. You can start with any offensive or defensive player by pressing their circle. Select anywhere on the court to start placing players on it:

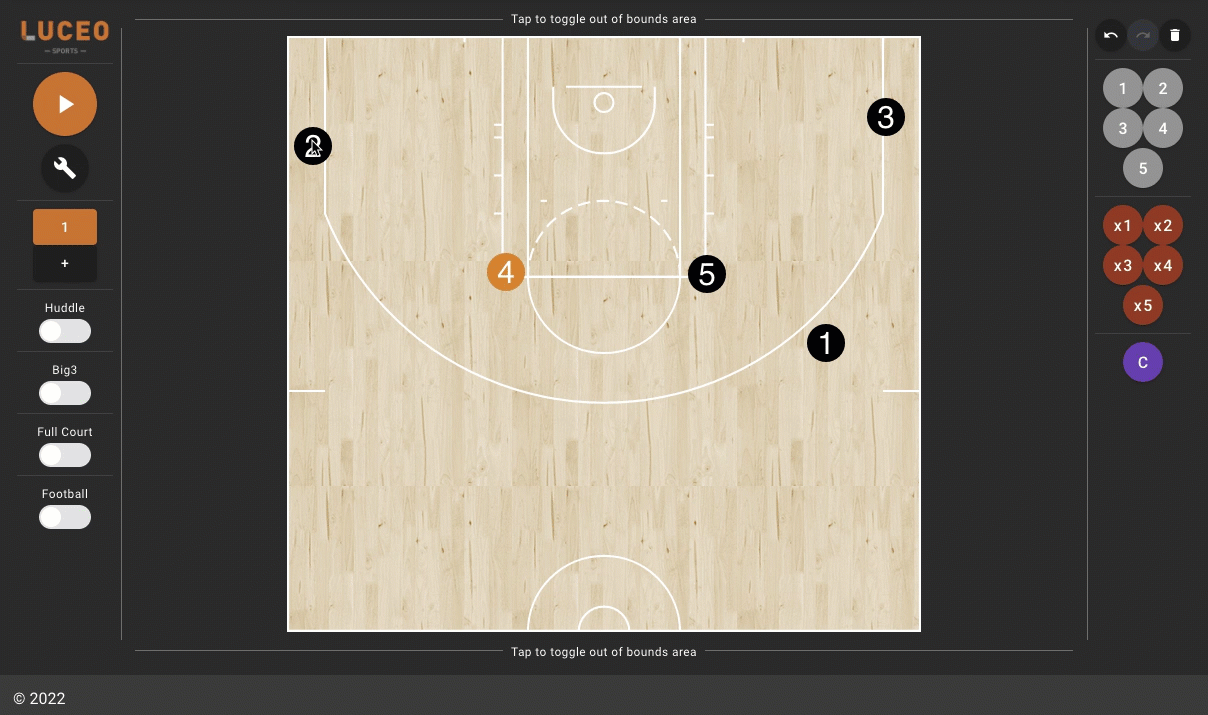
DISPLAY OUT OF BOUNDS: Tap on any of the lines of the box surrounding the court diagram to display the out of bounds area of the court:

CHANGE PLAYER LOCATION: Press-and-hold on a player [until the puck turns blue] then drag to change the location of a player you've already placed on the court. (You can only change player locations like this in the first frame of a drawing):
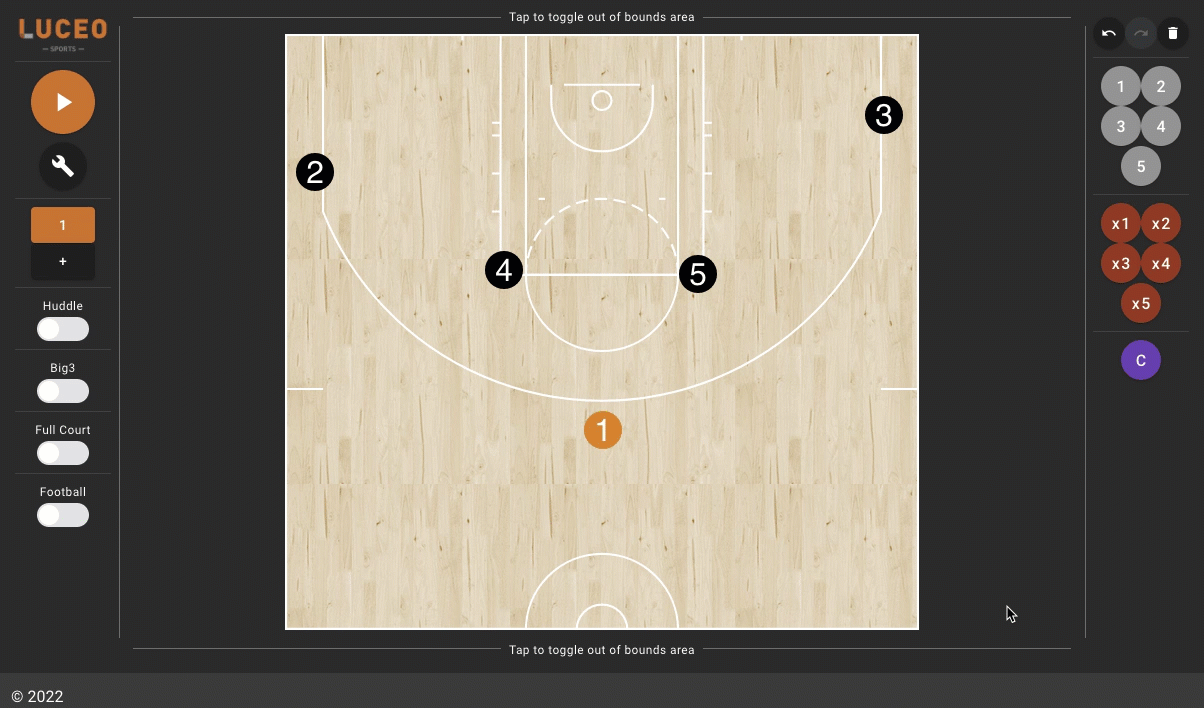
SELECTING BALL HANDLER: The player highlighted in orange starts with the ball. The default player starting with the ball is the Point Guard. Click on any player to change who starts with the ball by turning on the "start with possession" toggle:
EDITING PLAYER LABELS: If you want to change the default 1-5 position labels to a player's initials click on any player and replace the number in the "default label" to the player's initials. (see image above).
3. Drawing actions, editing their paths, and adding phases
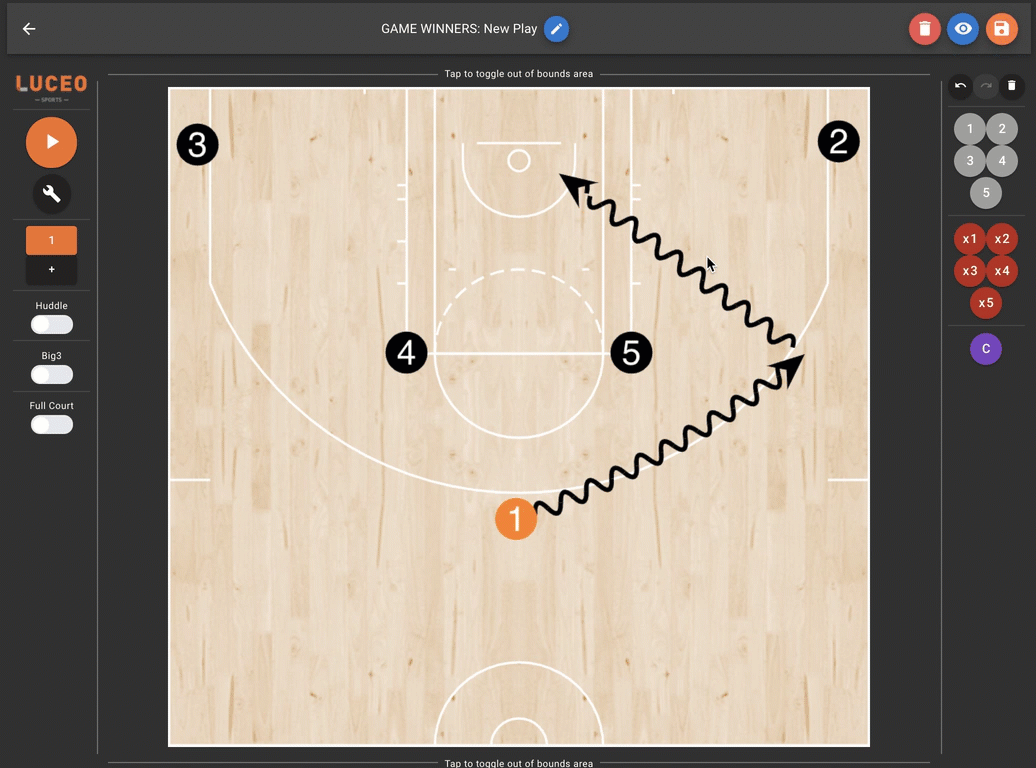
To draw any action be sure to draw directly from the center of a player icon to where you want them to move. The path of a line can be edited after it's been drawn to refine it.
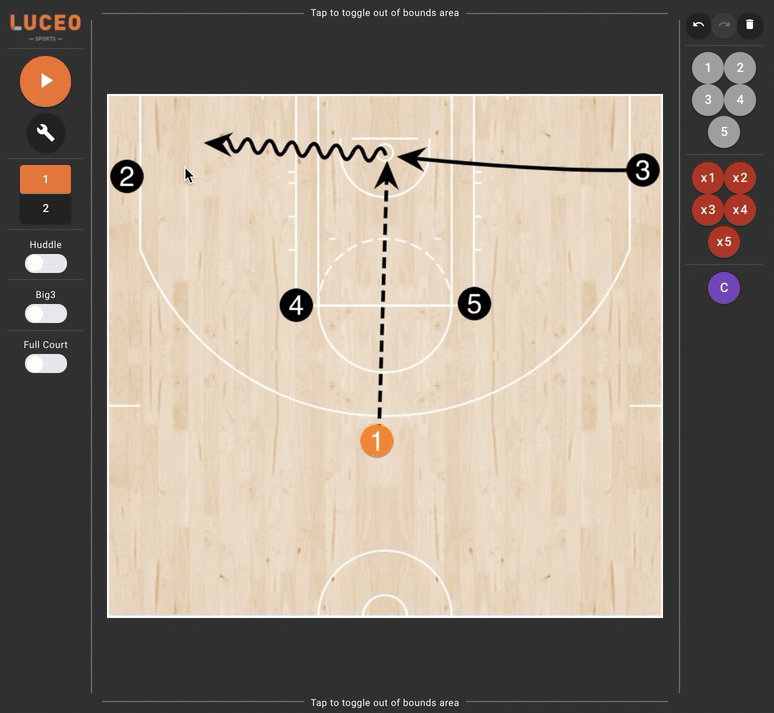
CUTS:To draw a sharp cut, draw to the point on-court you want the player to cut, pause until the line blinks quickly and then continue in the new direction:

SCREENS: Draw a line toward the player you want a screen set for. Click on the line segment to change the line type if the system doesn't automatically recognize it's supposed to be a screen:
HANDOFFS:
Stationary: Draw a line from the center of the ball handler's circle to the arrow tip of another player's line path in order to create a dribble hand-off.
Off the Dribble: Draw a line from the arrow tip of the ball handler's line path to the arrow tip of another player's line path in order to create a dribble hand-off.
(be sure the arrows are in close proximity or the system will interpret the action as a pass)
PASSES:
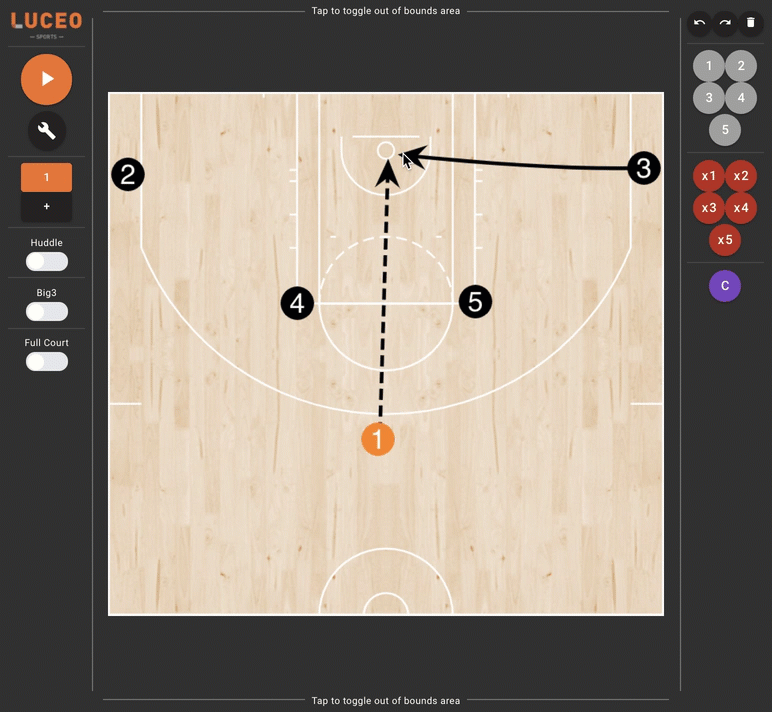
Off the Dribble: Draw a line from the arrow tip of the ball handler's line path to the arrow tip of another player's line path in order to create a pass:
Stationary: Draw a line from the center of the ball handler's circle to the arrow tip of another player's line path in order to create a pass:
.gif?width=688&name=Passes%20(1).gif)
EDIT LINE PATH: Pressing on the middle of any line will bring up the options menu and allow you to select the "edit line path" option. Pressing the middle blue dot on the line and dragging it around will let you adjust the bend of the line path from any point on the line:
.gif?width=688&name=Edit%20line%20Path%20(1).gif)
HIDE LINE TIPS: The options menu lets you hide line tips for any selected line to help clean up cluttered actions that are close together. Press on the line you want to remove a tip from and select the "hide line tip" button. You can put the line tip back by repeating the process:
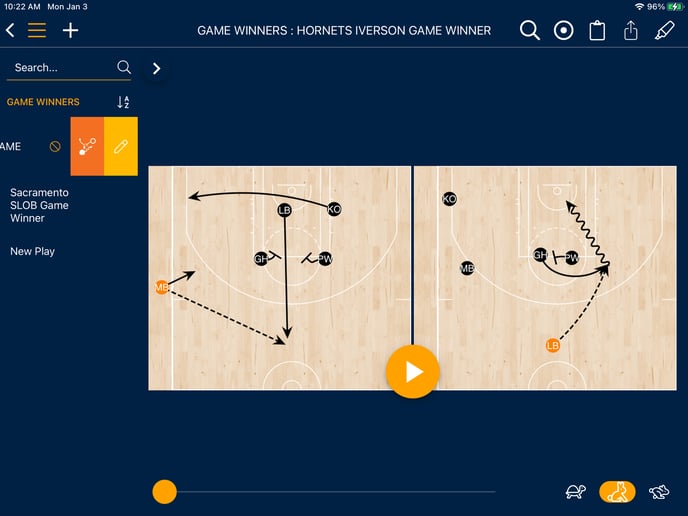
ADDING PHASES: It's helpful to add another phase when you want to draw actions that will overlap with each other. When you add a new phase all the players will start in the place on the court that they ended at in the previous phase. All the lines from the first phase will be gone, allowing you to continue drawing the play on a clean court.
(all phases will play as one seamless animation once your finished drawing)
4. Changing animation timings
The timeline feature, (wrench icon) lets you adjust the timings on your play animations. All line segments drawn from every phase, (see PHASE above) are present on the timeline.
READING THE TIMELINE: The frame of the phase you are viewing will be featured on the timeline in solid black line segments. Line segments from other phases will be in dark grey. The blue circles on the end of line segments help you line up the start/end points between different player actions on the timeline:
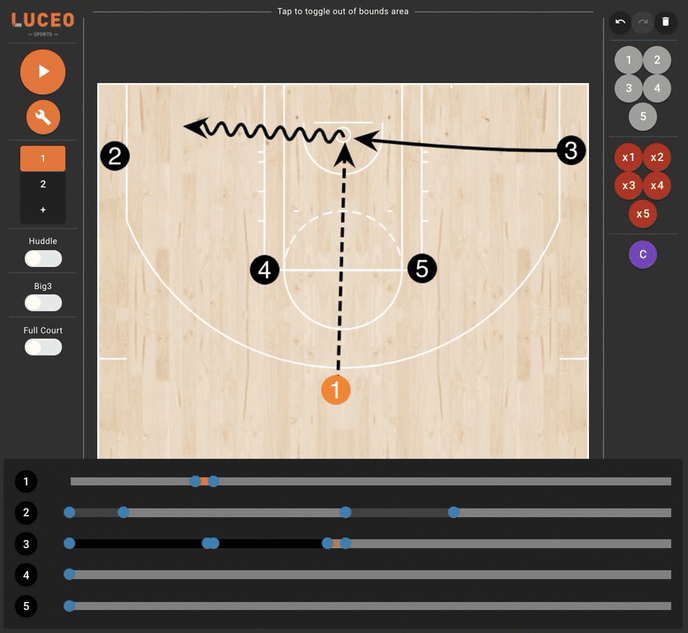
CHANGING LINE START/END POINT: Changing the start/end point of a line segment will change when a player starts/ends their action on-court. Press play (top-left button) to test how your adjustments are impacting the animation:
CHANGING LINE SEGMENT LENGTH: Changing the length of a line segment will change how quickly a player starts/ends their action on court. Press play (top-left button) to test how your adjustments are impacting the animation:
Drawing using Luceo.app
You can use any internet connected web browser to draw using Luceo.app! There are a few differences when it comes to using your mouse instead of your finger, and how you go about creating, editing, saving and publishing changes. Keep reading for the details.
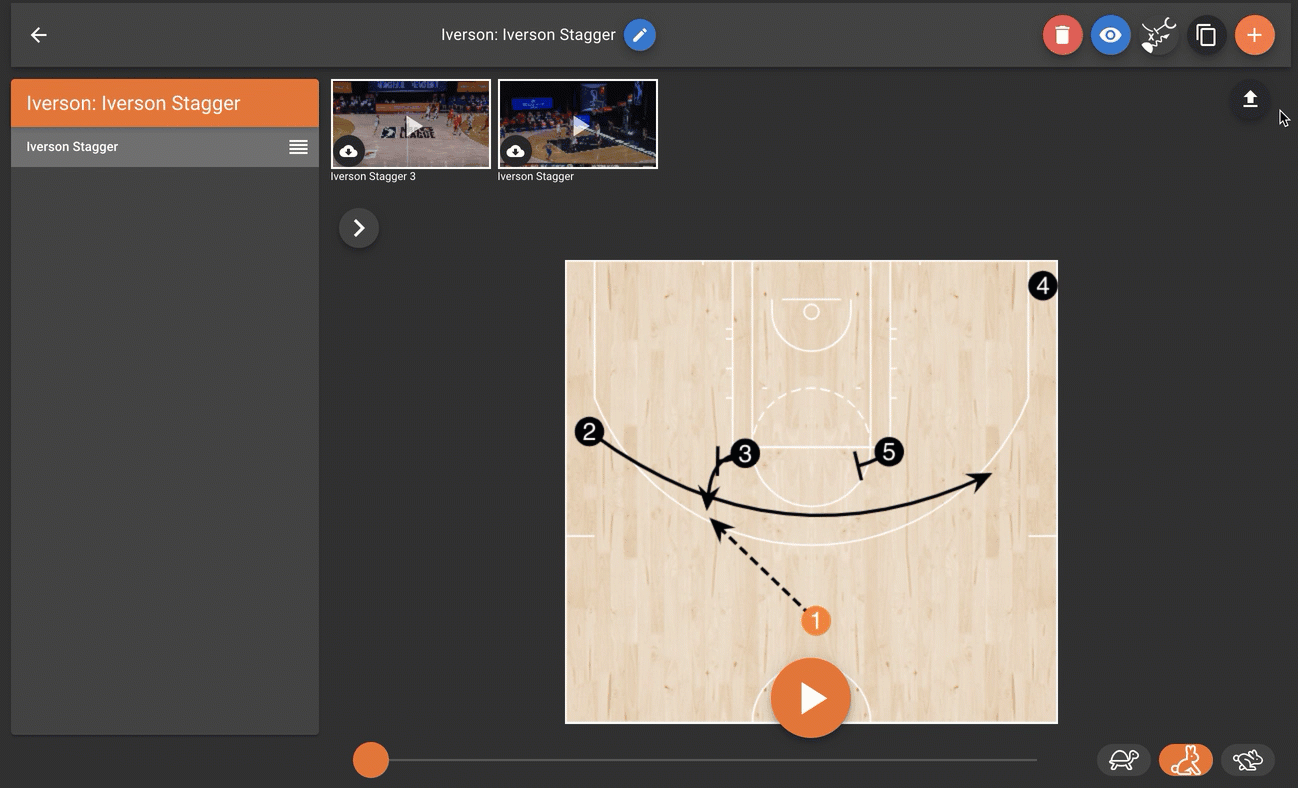
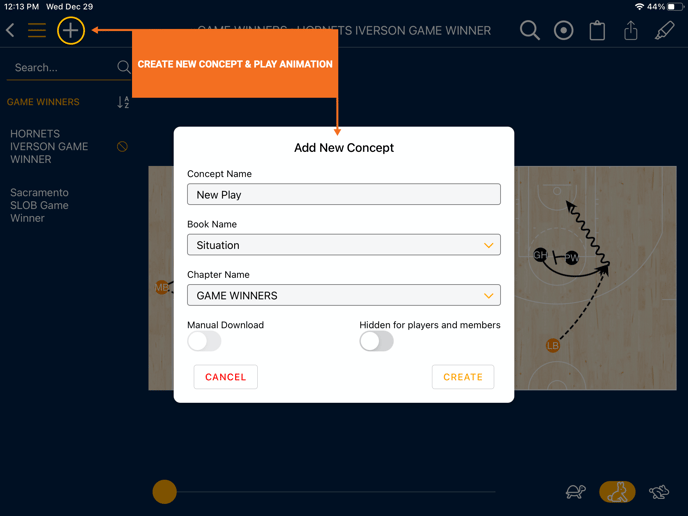
1. Add new or edit existing Concept
ADD NEW: Click the orange "+" button in the upper-right to add a new Concept. Create a name for the Concept and then choose the "Start Drawing" option.
EDIT EXISTING: Click on the title of an existing Concept in the left-hand menu to highlight it for editing. Once selected you can press the play diagram button, (middle option) on the upper-right to edit an existing play animation or create one for the existing Concept.
2. Using your mouse to draw
Press and hold down the mouse button on the center of a player icon (or tip of an arrow) to draw a line to wherever you want that player to move to and release the button:
(the starting point is very precise. A line won't stay on-court without an accurate starting point)

3. Save Changes
Be sure to press the orange floppy disk button, (upper-right) to save changes to your play animation. You can continue an unfinished play later, (see above):
Drawing Using Assist by Luceo Sports
You can use any iOS or Android device to draw using Assist by Luceo Sports, even while offline! There are a few differences when it comes to using your finger or pencil instead of a mouse, and how you go about creating, editing, saving and publishing changes. Keep reading for the details.
1. Add new or edit existing Concept
ADD NEW: You can add a new Concept from any screen in the ASSIST mobile app by pressing the "+" button in the upper-left of the screen.
Adding a new Concept inside the Book > Chapter you want the Concept located will set Book/Chapter name automatically.
EDIT EXISTING: Go to the Concept you want to edit, press the Concept title and slide your finger to the left to reveal the options menu.
ORANGE BUTTON: Allows you to edit the animated play diagram.
YELLOW BUTTON: Allows you to edit the Concept title.
(Yellow Pencil edits the Concept title. Orange diagram edits animation)
2. Using your finger or Apple Pencil to draw
Drag your finger or Apple Pencil from the center of a player icon (or tip of an arrow) to draw a line to wherever you want that player to move to:
3. Finish up, then Apply Changes
Changes made to animations drawn in the ASSIST mobile app save automatically!