This article shows you how to create the different types of action lines you can draw and adjust the timings of the animations for perfect play.
It takes seconds to draw a perfect explanation, making Luceo the perfect tool for a coach to quickly build their portfolio or make the most of a late-game coaching moment in the huddle.
Learn about:
- DRAWING & EDITING ACTION LINES
- CHANGING ANIMATION TIMINGS
ALL THE BUTTONS (NEW AND IMPROVED)
Before drawing any real plays press the buttons and see what they do. Setup a "dummy" play using the "quick placement" dropdown on the right (between 7 and 8) and experiment with your full suite of drawing options.

1. Drawing actions, editing their paths, and adding phases
To draw any action be sure to draw directly from the center of a player icon to where you want them to move. The path of a line can be edited after it's been drawn to refine it.
CUTS: To draw a sharp cut, pause for a one-count at the point on-court you want the player to cut and then continue in the new direction:

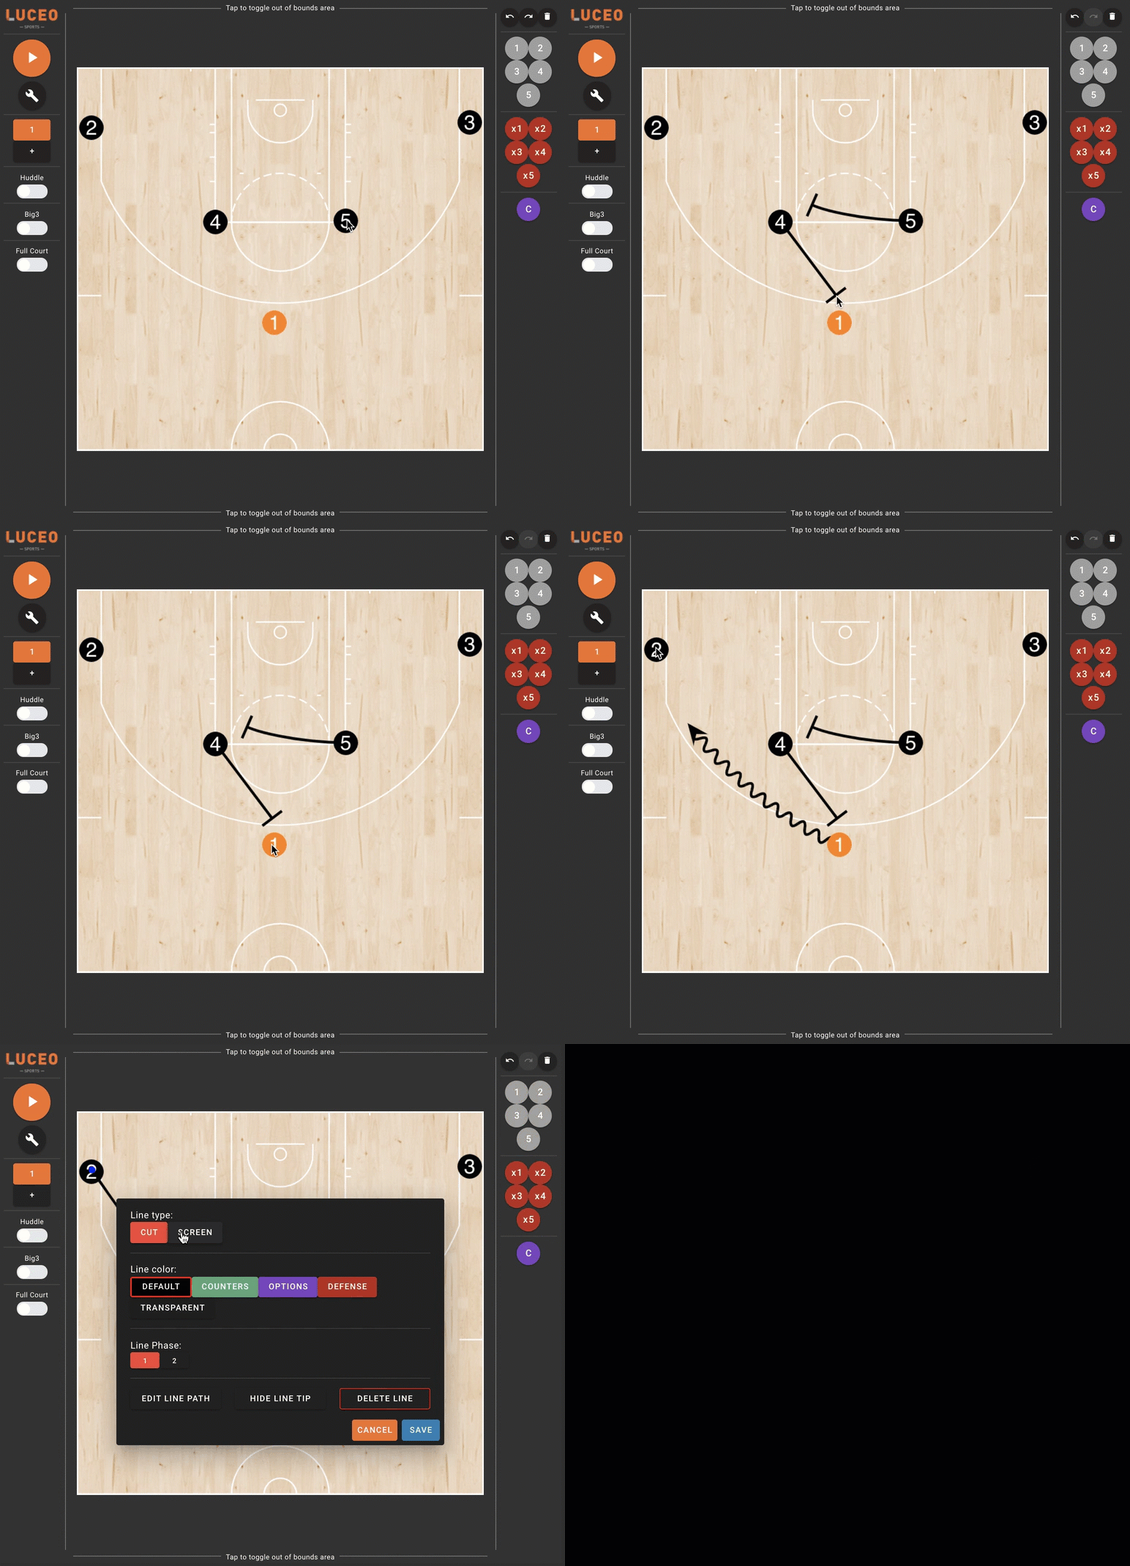
SCREENS: Draw a line toward the player you want a screen set for. Click on the line segment to change the line type if the system doesn't automatically recognize it's supposed to be a screen:
HANDOFFS:
Stationary: Draw a line from the center of the ball handler's circle to the arrow tip of another player's line path in order to create a dribble hand-off.
Off the Dribble: Draw a line from the arrow tip of the ball handler's line path to the arrow tip of another player's line path in order to create a dribble hand-off.
(be sure the arrows are in close proximity or the system will interpret the action as a pass)
PASSES:
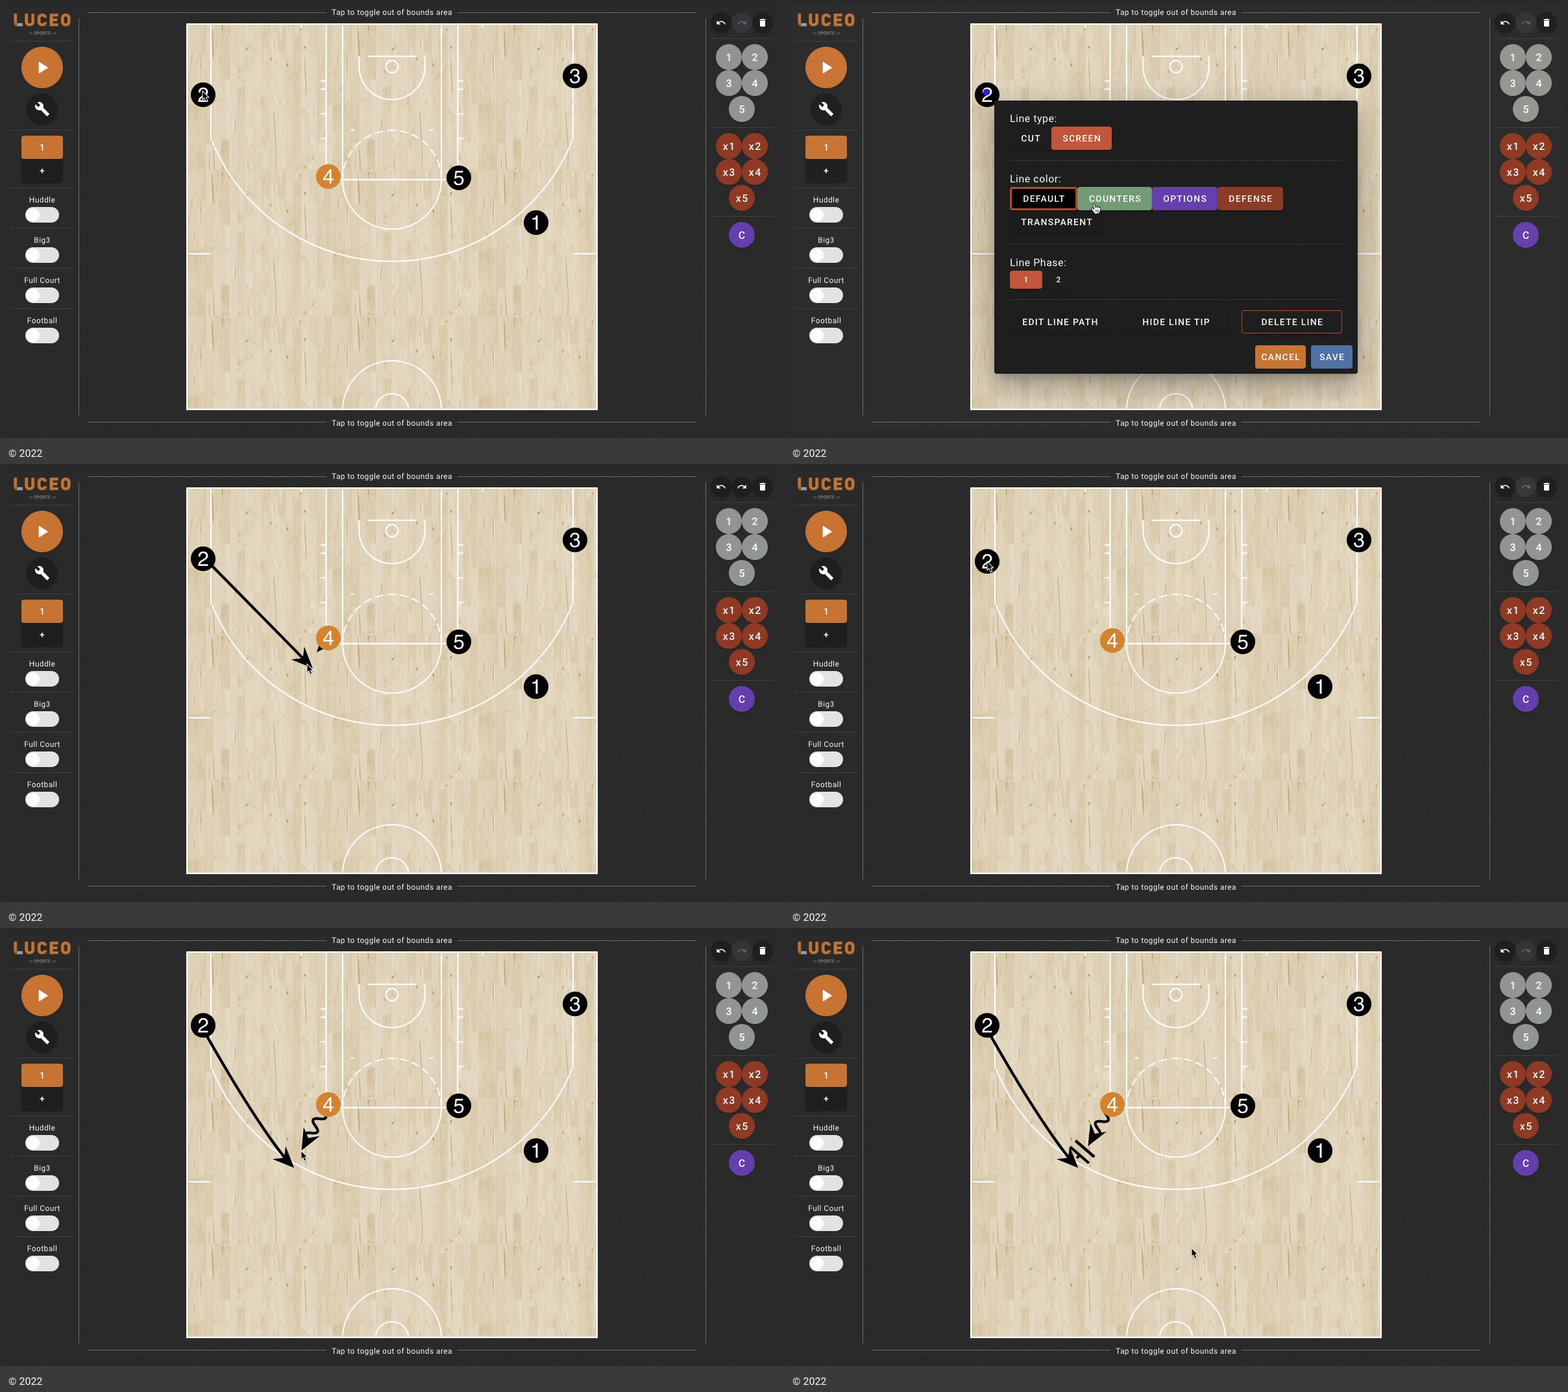
Off the Dribble: Draw a line from the arrow tip of the ball handler's line path to the arrow tip of another player's line path in order to create a pass:
Stationary: Draw a line from the center of the ball handler's circle to the arrow tip of another player's line path in order to create a pass:
.gif?width=688&name=Passes%20(1).gif)
EDIT LINE PATH: Pressing on the middle of any line will bring up the options menu and allow you to select the "edit line path" option. Pressing the middle blue dot on the line and dragging it around will let you adjust the bend of the line path from any point on the line:
.gif?width=688&name=Edit%20line%20Path%20(1).gif)
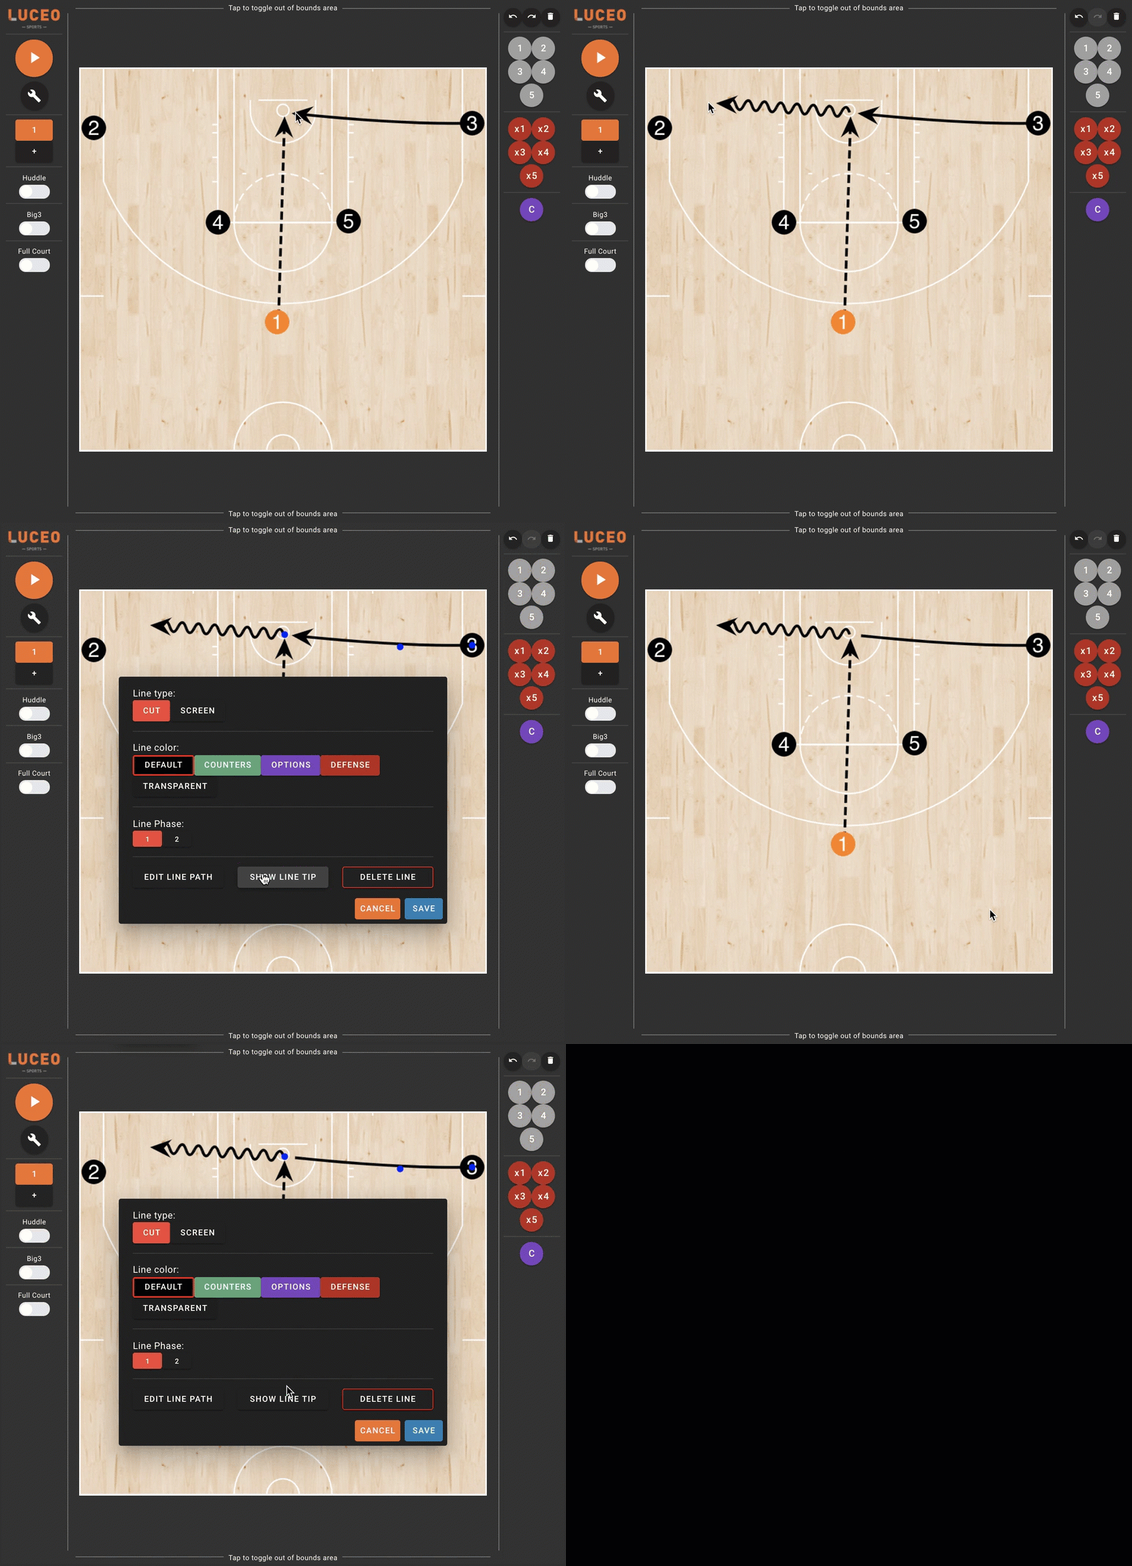
HIDE LINE TIPS: The options menu lets you hide line tips for any selected line to help clean up cluttered actions that are close together. Press on the line you want to remove a tip from and select the "hide line tip" button. You can put the line tip back by repeating the process:
ADDING PHASES: It's helpful to add another phase when you want to draw actions that will overlap with each other. When you add a new phase all the players will start in the place on the court that they ended at in the previous phase. All the lines from the first phase will be gone, allowing you to continue drawing the play on a clean court.
(all phases will play as one seamless animation once your finished drawing)
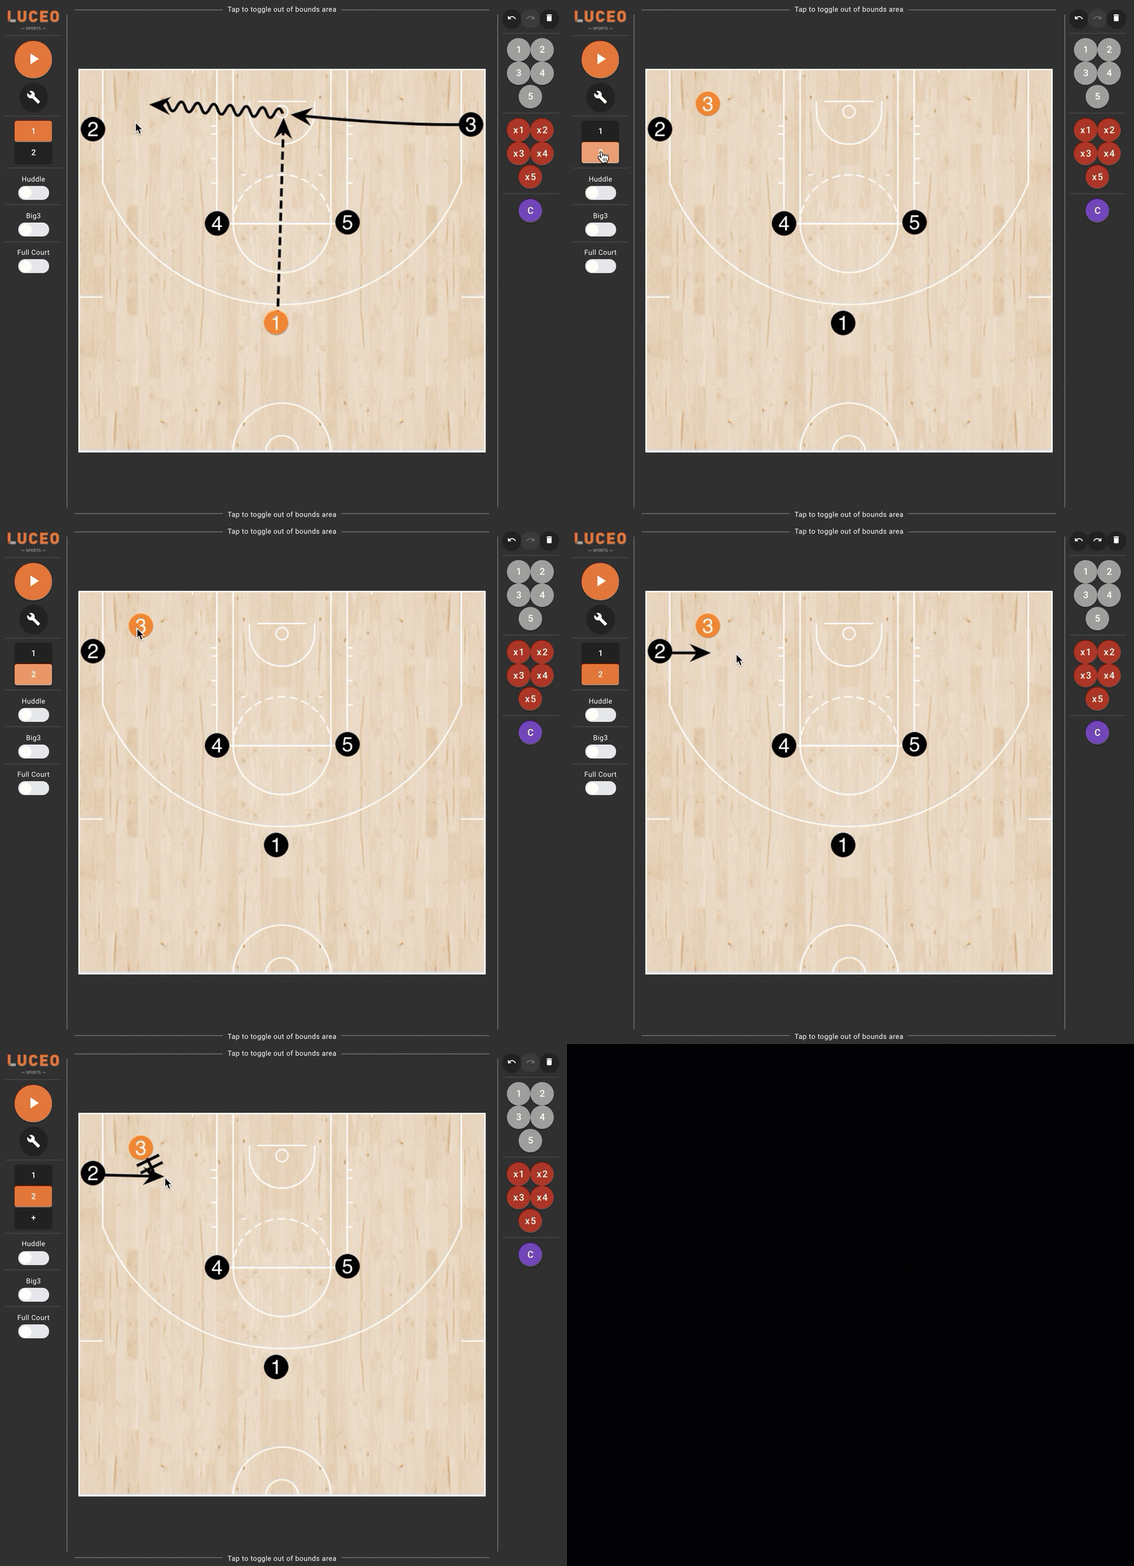
2. Changing animation timings
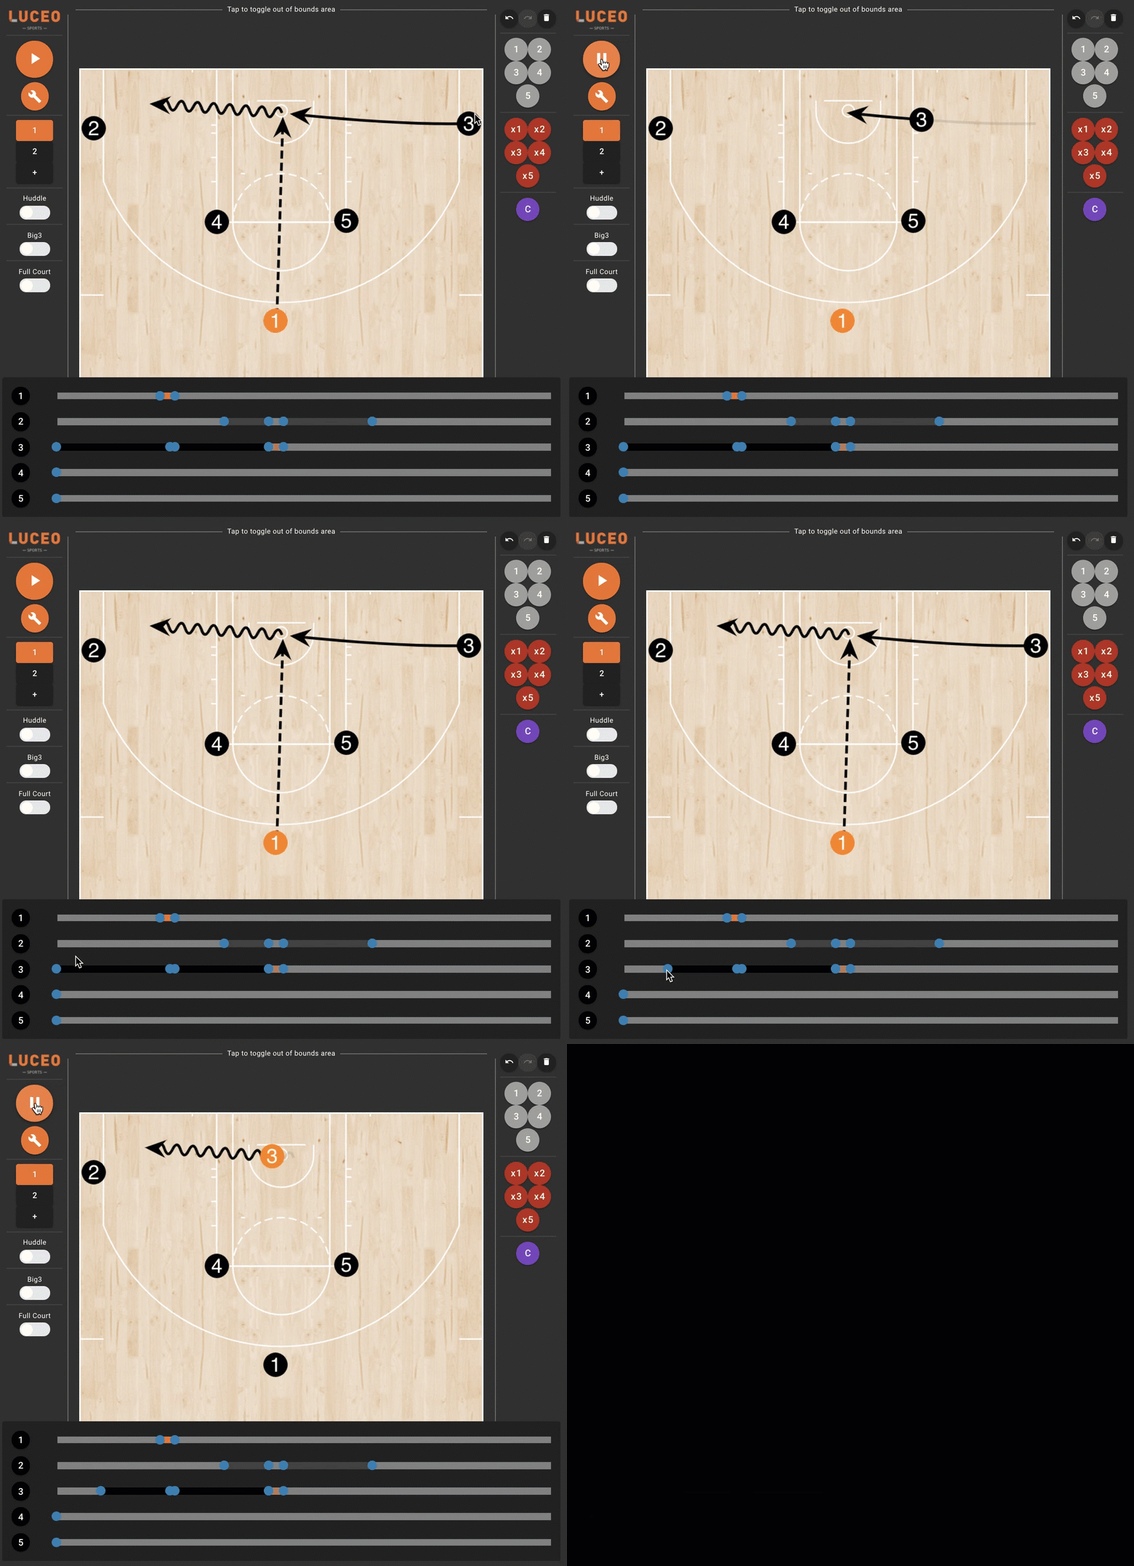
The timeline feature, (wrench icon) lets you adjust the timings on your play animations. All line segments drawn from every phase, (see PHASE above) are present on the timeline.
READING THE TIMELINE: The frame of the phase you are viewing will be featured on the timeline in solid black line segments. Line segments from other phases will be in dark grey. The blue circles on the end of line segments help you line up the start/end points between different player actions on the timeline:
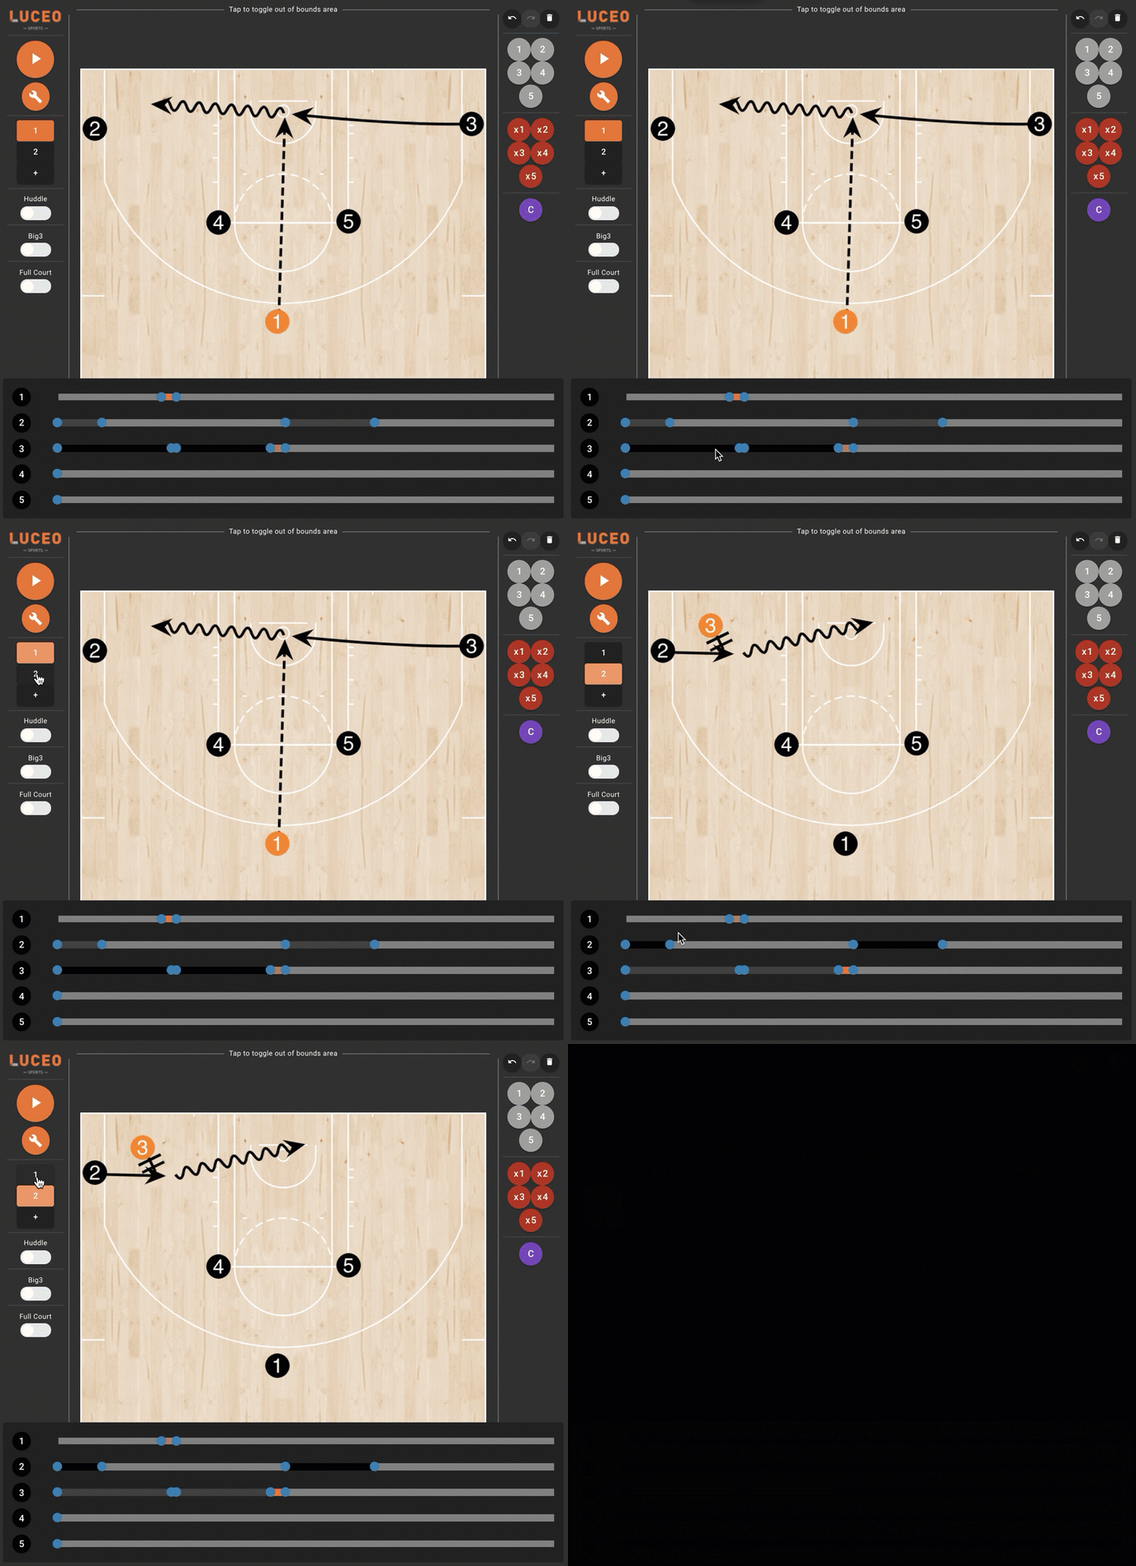
CHANGING LINE START/END POINT: Changing the start/end point of a line segment will change when a player starts/ends their action on-court. Press play (top-left button) to test how your adjustments are impacting the animation:
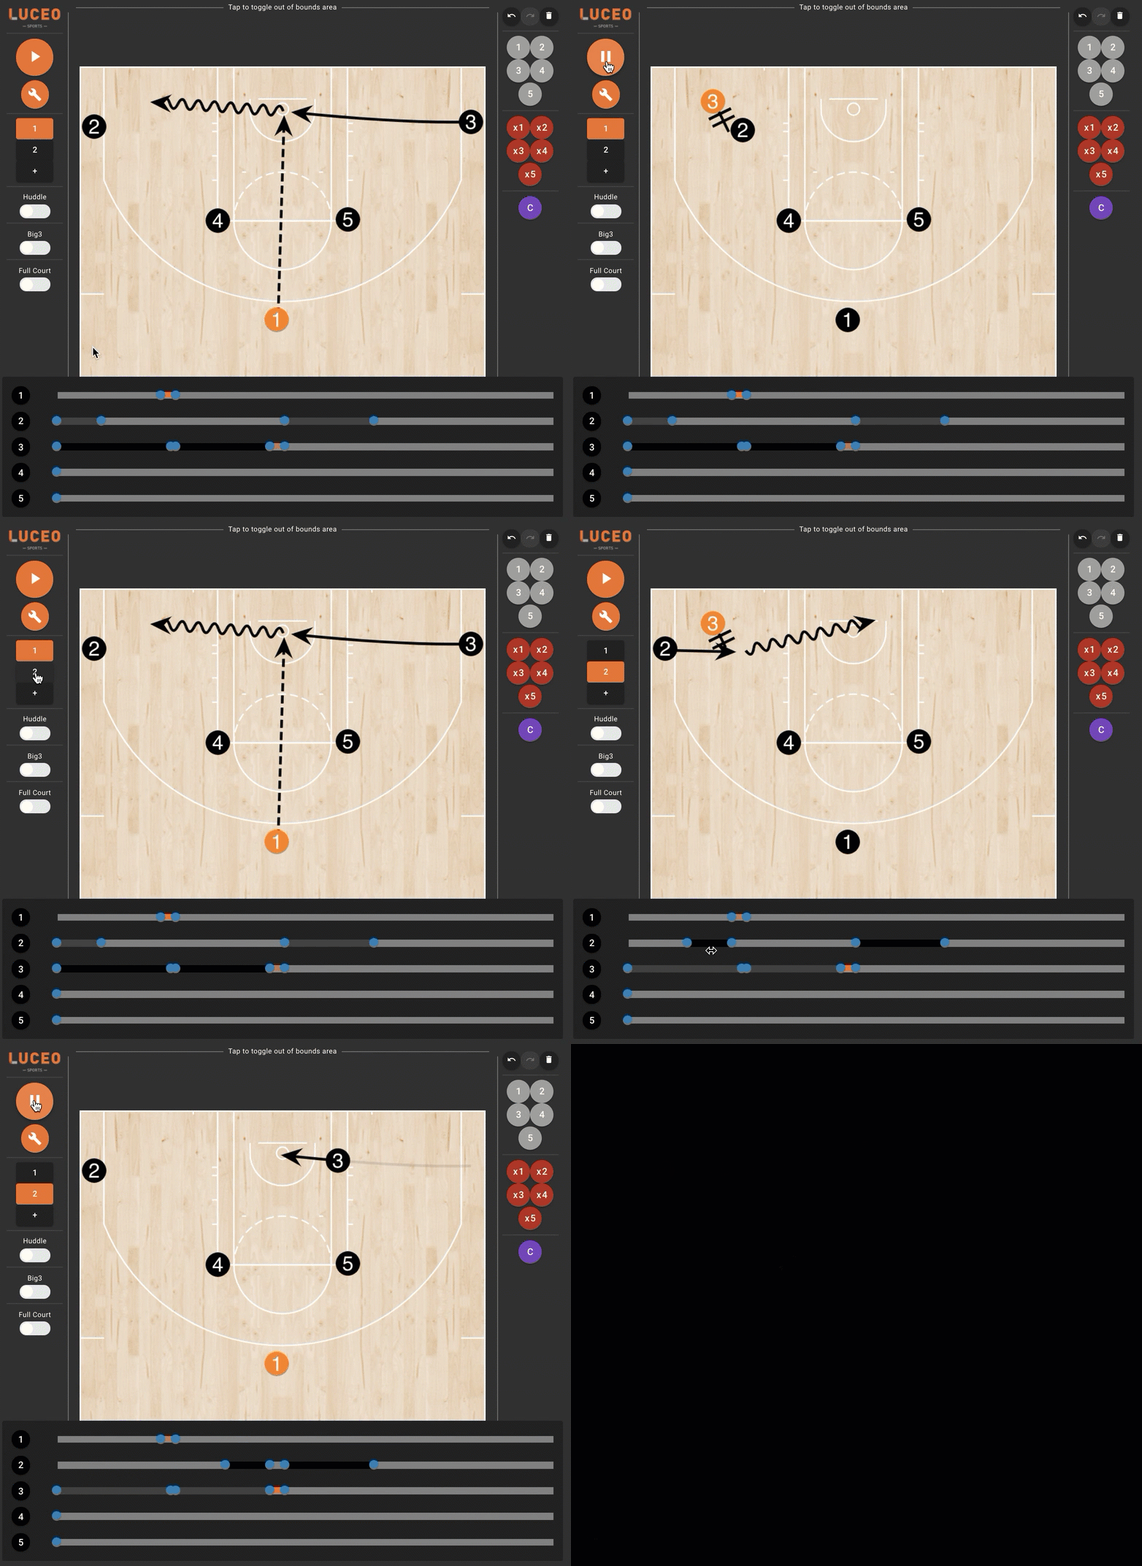
CHANGING LINE SEGMENT LENGTH: Changing the length of a line segment will change how quickly a player starts/ends their action on court. Press play (top-left button) to test how your adjustments are impacting the animation:
